安装 参考教程
基础知识 $VGA = 640 \times 480$
对于 8 位,可以表示 $2^8 = 256$ 个级别,也就是 0 ~ 255。一个灰度图像(Gray Scale Image) 也就是 8 Bit or 256 Level 的。OpenCV学习笔记——HSV颜色空间超极详解&inRange函数用法及实战
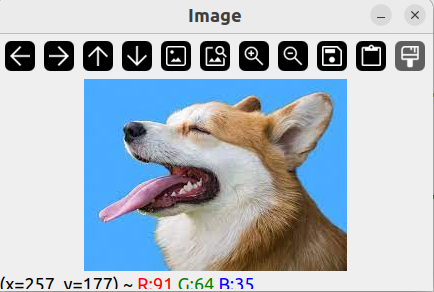
显示图像 图片与代码放在同个目录下。
1 2 3 4 5 6 7 8 9 10 11 12 13 14 15 16 17 #include <opencv2/imgcodecs.hpp> #include <opencv2/highgui.hpp> #include <opencv2/imgproc.hpp> #include <iostream> using namespace std;using namespace cv;int main () string path = "../dog.jpeg" ; Mat img = imread (path); imshow ("Image" , img); waitKey (0 ); }
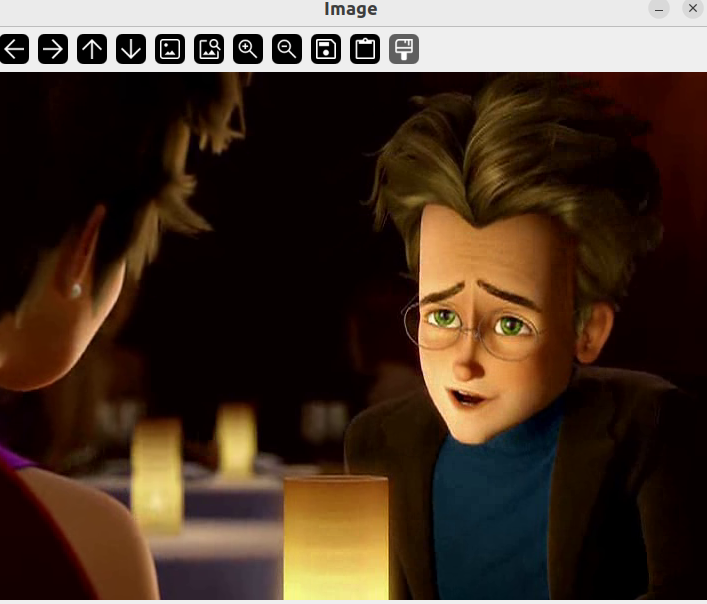
播放视频 1 2 3 4 5 6 7 8 9 10 11 12 13 14 15 16 17 18 19 20 21 22 23 24 #include <opencv2/opencv.hpp> using namespace cv;using namespace std;int main () string path = "../Megamind.avi" ; VideoCapture cap (path) ; Mat img; while (1 ) { cap.read (img); imshow ("Image" , img); waitKey (3 ); } return 0 ; }
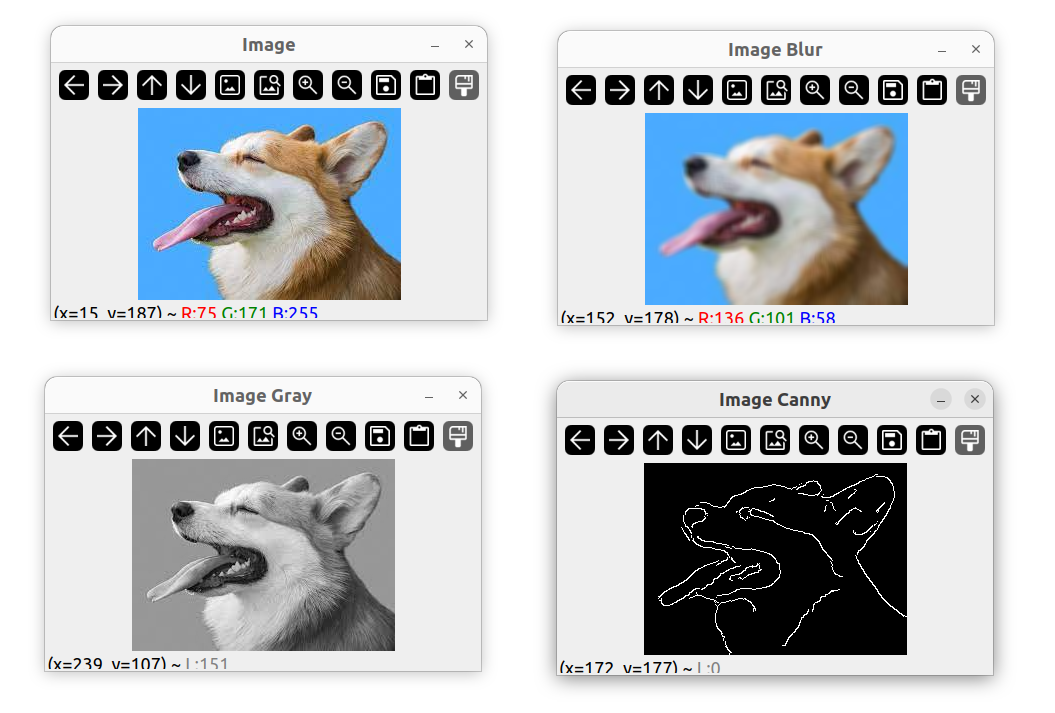
将图片转换为灰度图像 1 2 3 4 5 6 7 8 9 10 string path = "../dog.jpeg" ; Mat img = imread (path); Mat imgGray; cvtColor (img, imgGray, COLOR_BGR2GRAY);imshow ("Image" , img);imshow ("Image Gray" , imgGray);waitKey (0 );
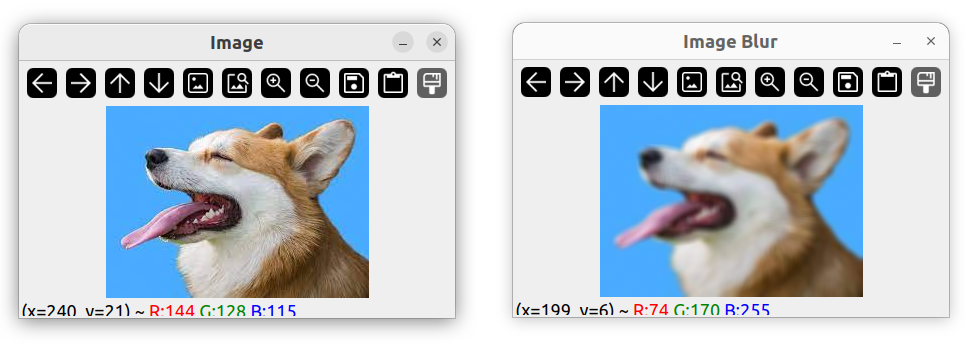
模糊图像 1 2 3 Mat imgBlur; GaussianBlur (img, imgBlur, Size (7 , 7 ), 5 , 0 );imshow ("Image Blur" , imgBlur);
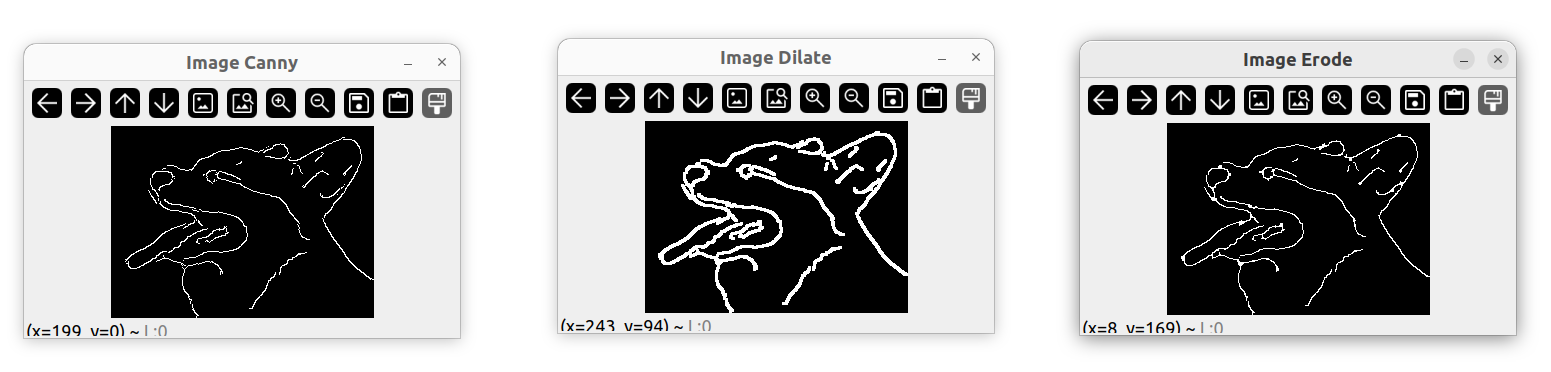
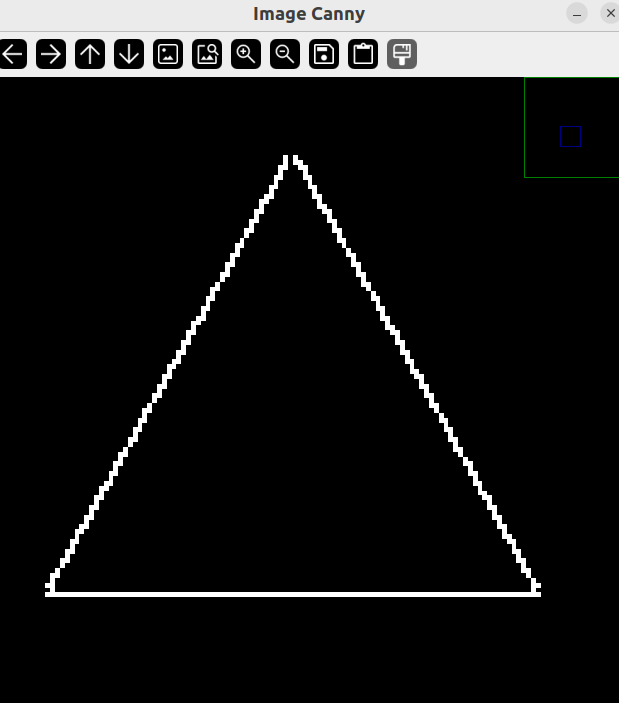
边缘检测 1 2 3 Mat imgCanny; Canny (imgBlur, imgCanny, 50 , 150 );imshow ("Image Canny" , imgCanny);
1 2 3 4 5 6 7 8 9 void cv::Canny (InputArray image, OutputArray edges, double lowThreshold, double highThreshold, int apertureSize = 3 )
图像膨胀 1 2 3 4 Mat imgDil; Mat kernel = getStructuringElement (MORPH_RECT, Size (3 , 3 )); dilate (imgCanny, imgDil, kernel);imshow ("Image Dilate" , imgDil);
1 2 3 4 5 6 7 8 9 10 11 Mat kernel = cv2.getStructuringElement (a,b,c);
图像腐蚀 1 2 3 Mat imgErode; erode (imgDil, imgErode, kernel);imshow ("Image Erode" , imgErode);
调整图片大小 输出图片的尺寸
1 cout << img.size () << endl;
1 2 3 4 5 Mat imgResize; resize (img, imgResize, Size (640 , 480 ));imshow ("Image Resize" , imgResize);
1 resize (img, imgResize, Size (), 0.5 , 0.5 );
裁剪图片 用 Rect 裁剪一块矩形
1 2 3 4 5 6 Mat imgCrop; Rect roi (300 , 300 , 250 , 150 ) ; imgCrop = img (roi); imshow ("Image Crop" , imgCrop);
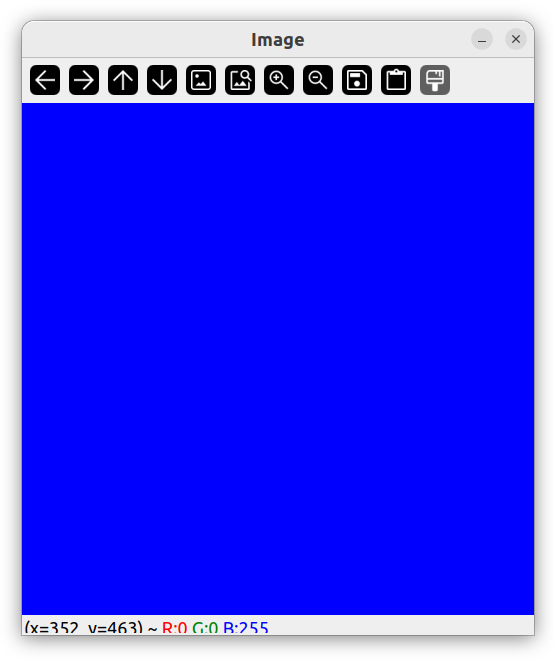
创建图片 创建一张蓝色的图片
1 2 3 Mat img (512 , 512 , CV_8UC3, Scalar(255 , 0 , 0 )) ;imshow ("Image" , img);
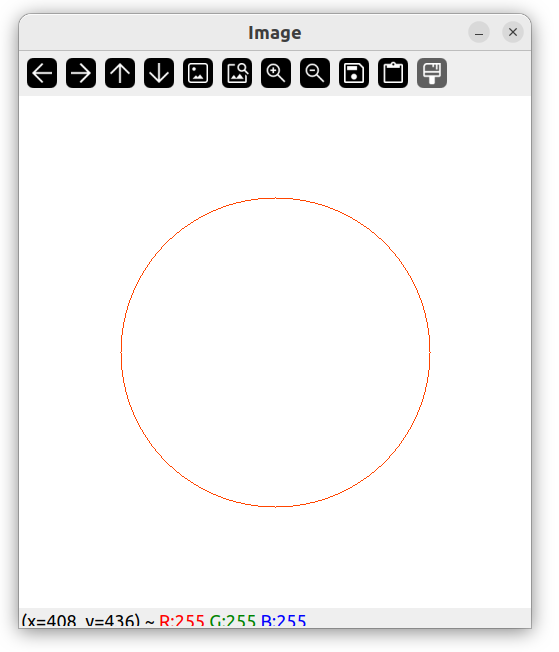
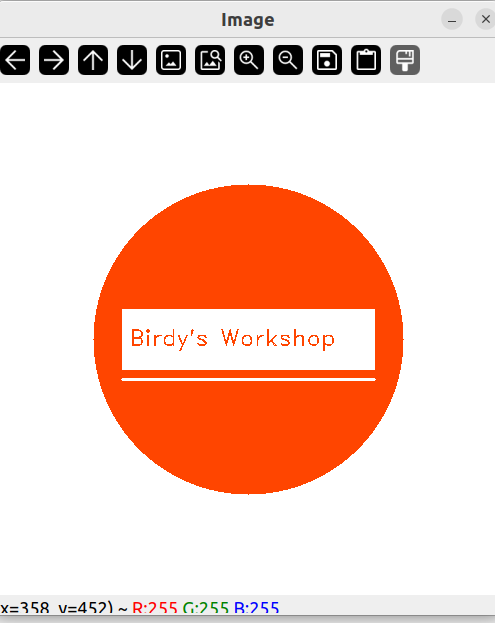
绘制图形 绘制圆圈 1 2 3 4 5 6 Mat img (512 , 512 , CV_8UC3, Scalar(255 , 255 , 255 )) ;circle (img, Point (256 , 256 ), 155 , Scalar (0 , 69 , 255 ));imshow ("Image" , img);
增加圆圈的厚度 1 circle (img, Point (256 , 256 ), 155 , Scalar (0 , 69 , 255 ), 10 );
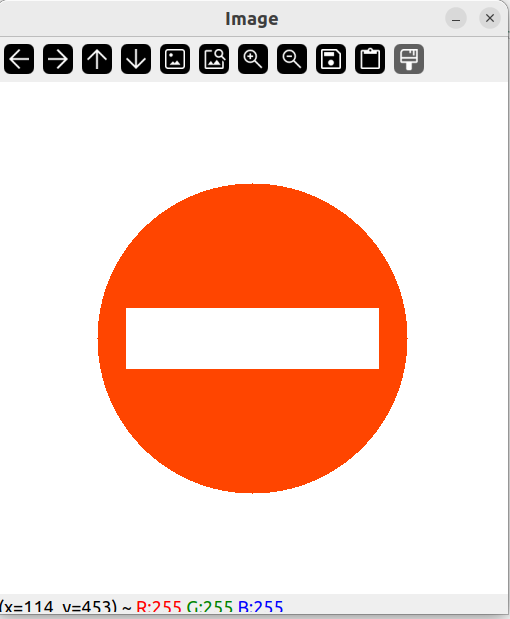
填满圆圈 1 circle (img, Point (256 , 256 ), 155 , Scalar (0 , 69 , 255 ), FILLED);
绘制矩形 1 2 rectangle (img, Point (130 , 226 ), Point (382 , 286 ), Scalar (255 , 255 , 255 ), 3 );
将矩形填满 1 rectangle (img, Point (130 , 226 ), Point (382 , 286 ), Scalar (255 , 255 , 255 ), FILLED);
绘制一条线 1 line (img, Point (130 , 296 ), Point (382 , 296 ), Scalar (255 , 255 , 255 ), 2 );
添加文字 1 putText (img, "Birdy's Workshop" , Point (137 , 262 ), FONT_HERSHEY_DUPLEX, 0.75 , Scalar (0 , 69 , 255 ));
给文字添加厚度 1 putText (img, "Birdy's Workshop" , Point (137 , 262 ), FONT_HERSHEY_DUPLEX, 0.75 , Scalar (0 , 69 , 255 ), 2 );
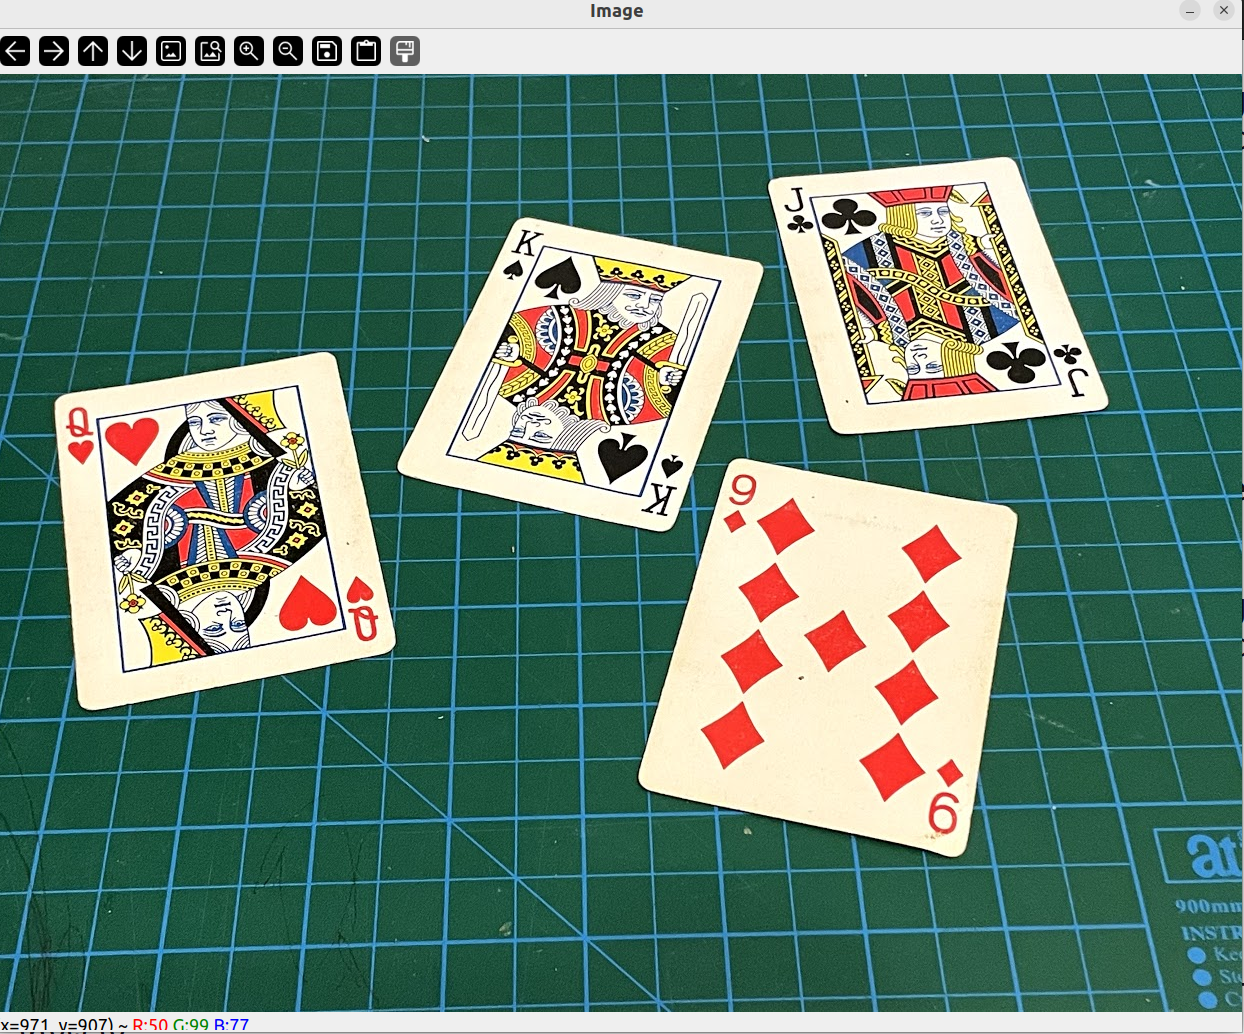
Warp images 原图像:
1 2 3 4 5 6 7 8 9 10 11 12 13 14 15 16 17 18 19 20 21 22 int main () string path = "../image/cards.jpg" ; float w = 250 , h = 350 ; Mat img = imread (path); Mat matrix, imgWarp; Point2f src[4 ] = {{529 , 142 }, {779 , 190 }, {405 , 395 }, {674 , 457 }}; Point2f dst[4 ] = {{0.0f , 0.0f }, {w, 0.0f }, {0.0f , h}, {w, h}}; matrix = getPerspectiveTransform (src, dst); warpPerspective (img, imgWarp, matrix, Point (w, h)); imshow ("Image" , img); imshow ("Image Warp" , imgWarp); waitKey (0 ); return 0 ; }
圈出选中的四个角 1 2 3 4 5 6 for (int i = 0 ; i < 4 ; i ++) { circle (img, src[i], 10 , Scalar (0 , 0 , 255 ), FILLED); } imshow ("Image" , img);
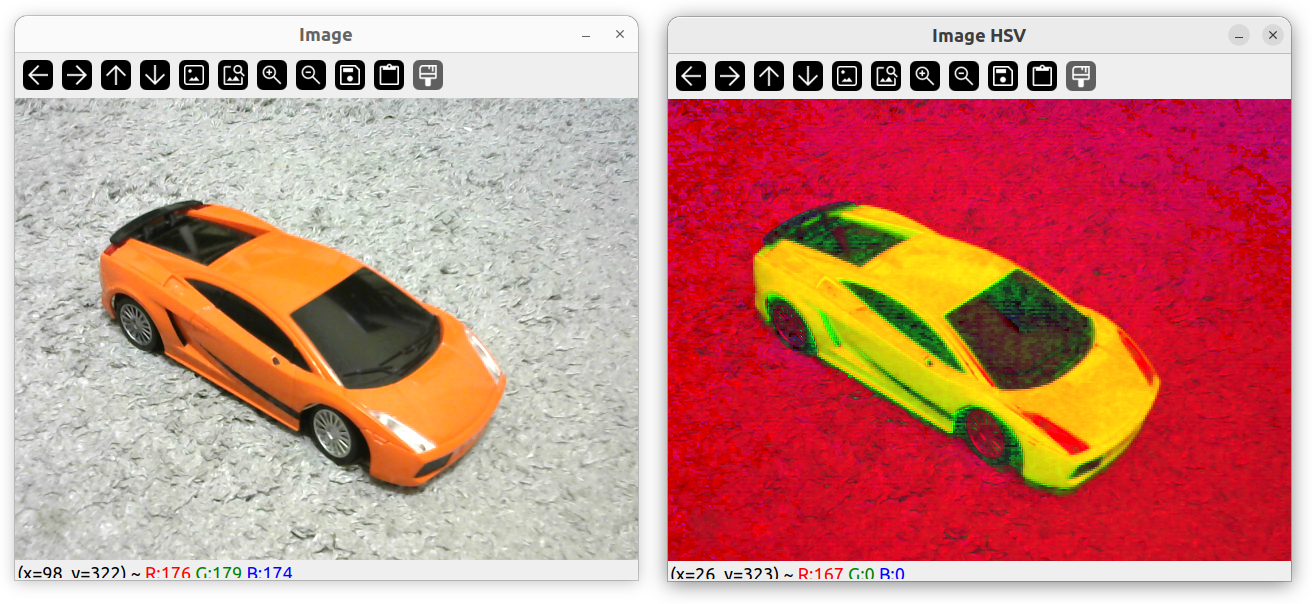
颜色检测 原图像
HSV 颜色系统 Hue 色相
转换 HSV 将图像转换为 hsv 空间可以更容易识别颜色。
1 2 3 4 5 Mat imgHSV; cvtColor (img, imgHSV, COLOR_BGR2HSV);imshow ("Image HSV" , imgHSV);
Mask 1 2 3 4 5 6 7 8 9 10 Mat mask; int hmin = 0 , smin = 110 , vmin = 153 ;int hmax = 19 , smax= 240 , vmax = 255 ;Scalar lower (hmin, smin, vmin) ;Scalar upper (hmax, smax, vmax) ;inRange (imgHSV, lower, upper, mask);imshow ("Image Mask" , mask);
1 2 3 4 5 6 7 8 9 10 11 12 13 14 15 16 17 18 19 20 21 22 23 24 25 26 27 28 29 30 31 32 33 34 35 int main () string path = "../image/lambo.png" ; Mat img = imread (path); Mat imgHSV, mask; cvtColor (img, imgHSV, COLOR_BGR2HSV); int hmin = 0 , smin = 110 , vmin = 153 ; int hmax = 19 , smax= 240 , vmax = 255 ; namedWindow ("Trackbars" , (640 , 200 )); createTrackbar ("Hue Min" , "Trackbars" , &hmin, 179 ); createTrackbar ("Hue Max" , "Trackbars" , &hmax, 179 ); createTrackbar ("Sat Min" , "Trackbars" , &smin, 255 ); createTrackbar ("Sat Max" , "Trackbars" , &smax, 255 ); createTrackbar ("Val Min" , "Trackbars" , &vmin, 255 ); createTrackbar ("Val Max" , "Trackbars" , &vmax, 255 ); while (1 ) { Scalar lower (hmin, smin, vmin) ; Scalar upper (hmax, smax, vmax) ; inRange (imgHSV, lower, upper, mask); imshow ("Image" , img); imshow ("Image HSV" , imgHSV); imshow ("Image Mask" , mask); waitKey (1 ); } return 0 ; }
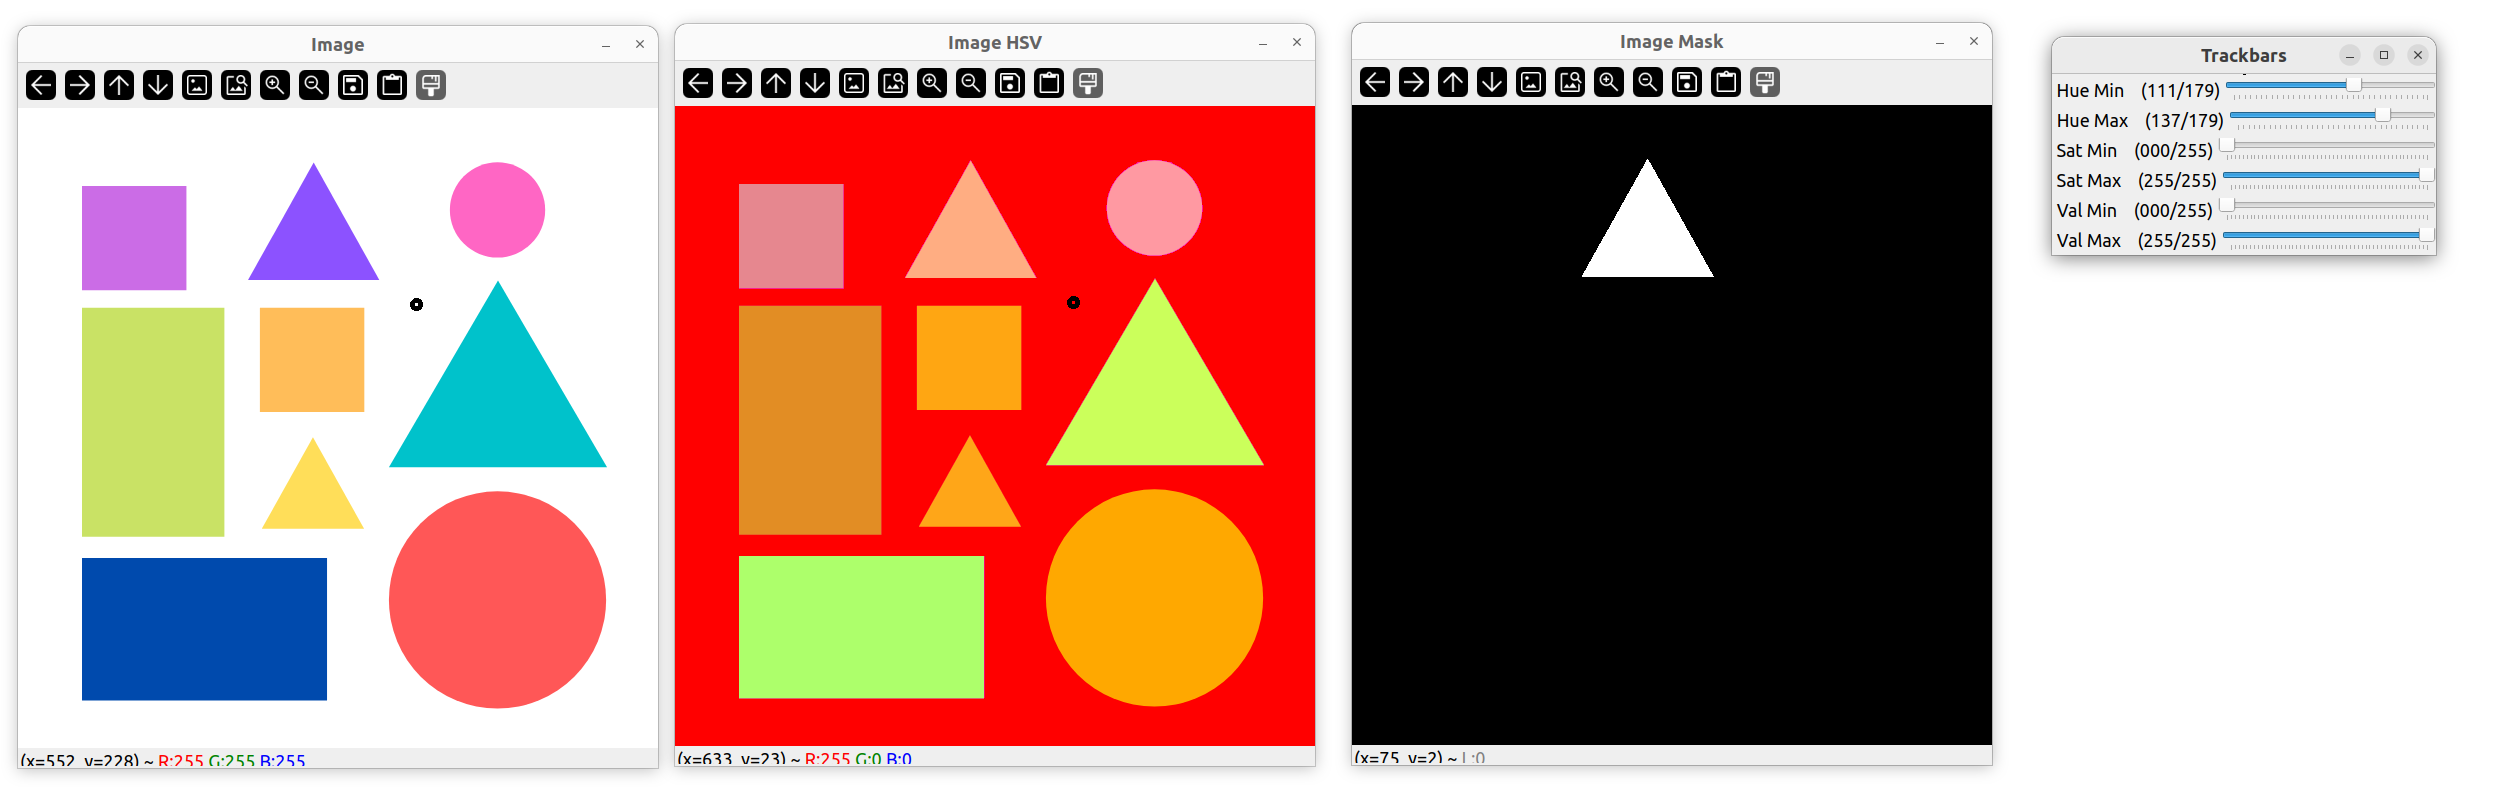
检测不同颜色物体 1 2 3 4 5 6 7 8 9 10 11 12 13 14 15 16 17 18 19 20 21 22 23 24 25 26 27 28 29 30 31 32 33 34 35 36 37 38 39 40 41 #include <opencv2/opencv.hpp> using namespace cv;using namespace std;int main () string path = "../image/shapes.png" ; Mat img = imread (path); Mat imgHSV, mask; int hmin = 0 , smin = 0 , vmin = 0 ; int hmax = 179 , smax= 255 , vmax = 255 ; cvtColor (img, imgHSV, COLOR_BGR2HSV); namedWindow ("Trackbars" , (640 , 200 )); createTrackbar ("Hue Min" , "Trackbars" , &hmin, 179 ); createTrackbar ("Hue Max" , "Trackbars" , &hmax, 179 ); createTrackbar ("Sat Min" , "Trackbars" , &smin, 255 ); createTrackbar ("Sat Max" , "Trackbars" , &smax, 255 ); createTrackbar ("Val Min" , "Trackbars" , &vmin, 255 ); createTrackbar ("Val Max" , "Trackbars" , &vmax, 255 ); while (1 ) { Scalar lower (hmin, smin, vmin) ; Scalar upper (hmax, smax, vmax) ; inRange (imgHSV, lower, upper, mask); imshow ("Image" , img); imshow ("Image HSV" , imgHSV); imshow ("Image Mask" , mask); waitKey (1 ); } waitKey (0 ); return 0 ; }
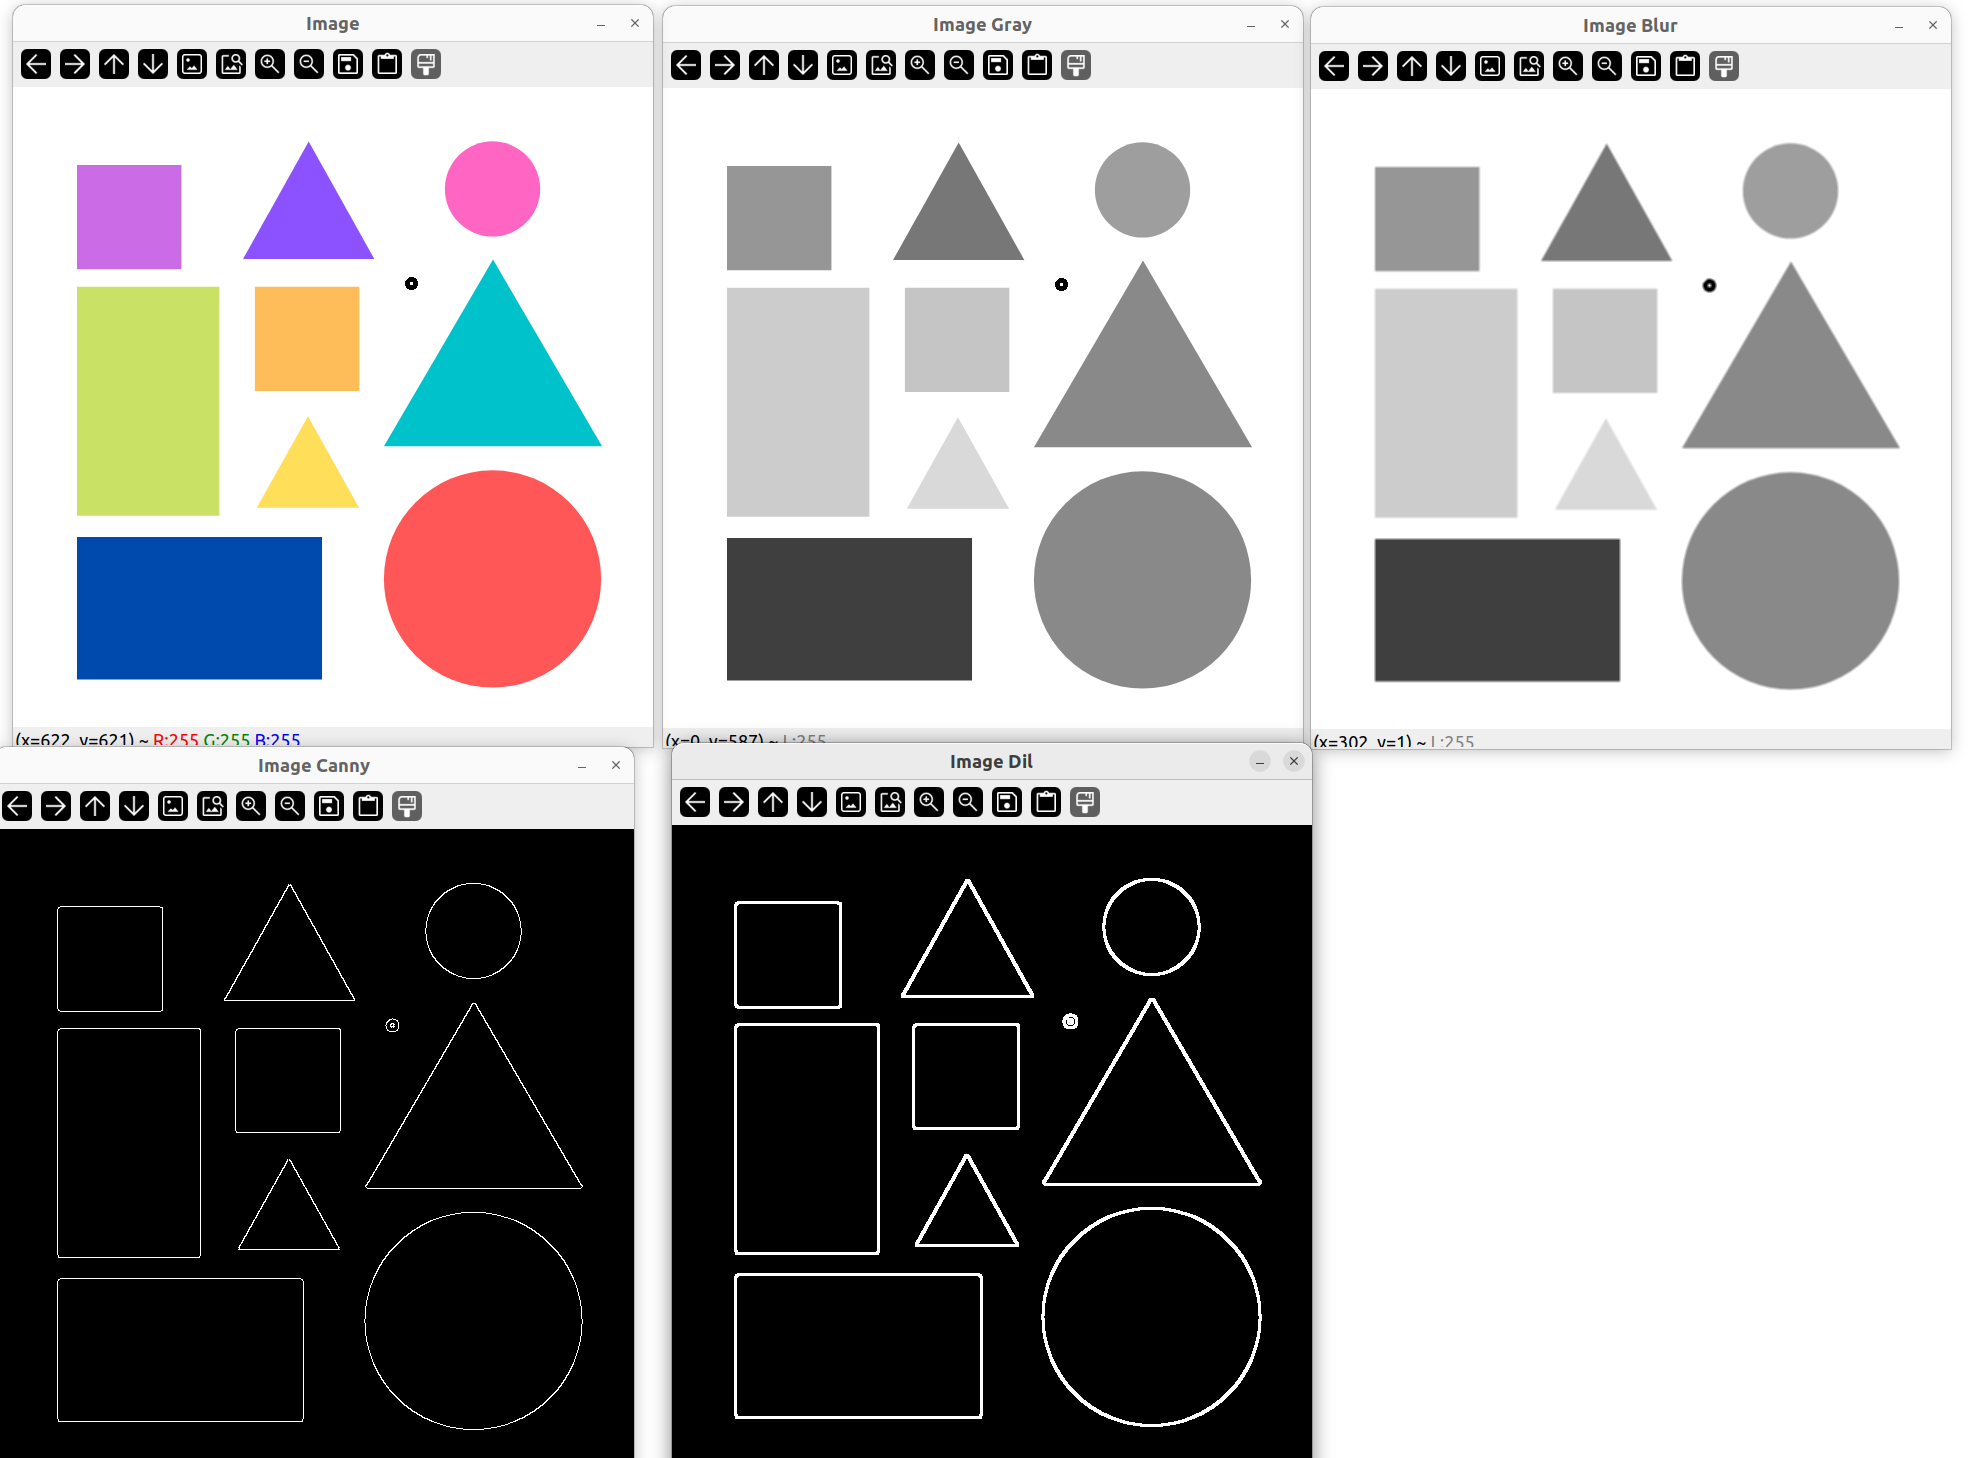
检测轮廓、形状 1 2 3 4 5 6 7 8 9 10 11 12 13 14 15 16 17 18 19 20 21 22 23 24 25 26 27 28 #include <opencv2/opencv.hpp> using namespace cv;using namespace std;int main () string path = "../image/shapes.png" ; Mat img = imread (path); Mat imgGray, imgBlur, imgCanny, imgDil, imgErode; cvtColor (img, imgGray, COLOR_BGR2GRAY); GaussianBlur (imgGray, imgBlur, Size (3 , 3 ), 3 , 0 ); Canny (imgBlur, imgCanny, 25 , 75 ); Mat kernel = getStructuringElement (MORPH_RECT, Size (3 , 3 )); dilate (imgCanny, imgDil, kernel); imshow ("Image" , img); imshow ("Image Gray" , imgGray); imshow ("Image Blur" , imgBlur); imshow ("Image Canny" , imgCanny); imshow ("Image Dil" , imgDil); waitKey (0 ); return 0 ; }
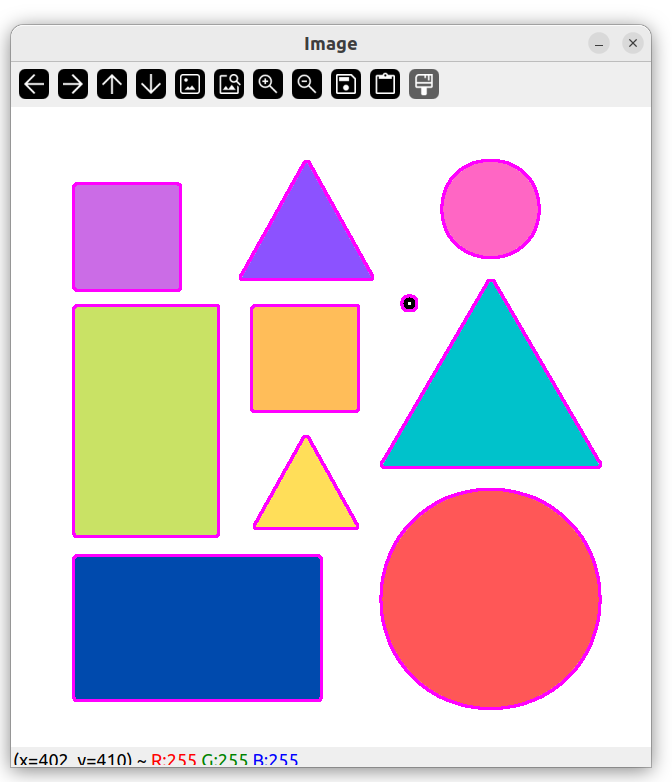
绘制轮廓 1 2 3 4 5 6 7 8 9 10 11 12 13 14 15 16 17 18 19 20 21 22 23 24 25 26 27 28 29 30 31 32 33 34 35 36 37 38 39 40 #include <opencv2/opencv.hpp> using namespace cv;using namespace std;void getContours (Mat imgDil, Mat img) vector<vector<Point>> contours; vector<Vec4i> hierarchy; findContours (imgDil, contours, hierarchy, RETR_EXTERNAL, CHAIN_APPROX_SIMPLE); drawContours (img, contours, -1 , Scalar (255 , 0 , 255 ), 2 ); } int main () string path = "../image/shapes.png" ; Mat img = imread (path); Mat imgGray, imgBlur, imgCanny, imgDil, imgErode; cvtColor (img, imgGray, COLOR_BGR2GRAY); GaussianBlur (imgGray, imgBlur, Size (3 , 3 ), 3 , 0 ); Canny (imgBlur, imgCanny, 25 , 75 ); Mat kernel = getStructuringElement (MORPH_RECT, Size (3 , 3 )); dilate (imgCanny, imgDil, kernel); getContours (imgDil, img); imshow ("Image" , img); waitKey (0 ); return 0 ; }
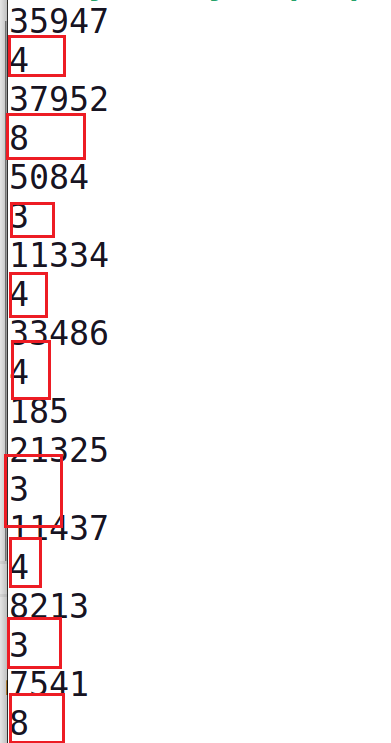
打印每个图形面积
1 2 3 4 5 for (int i = 0 ; i < contours.size (); i ++) { int area = contourArea (contours[i]); cout << area << endl; }
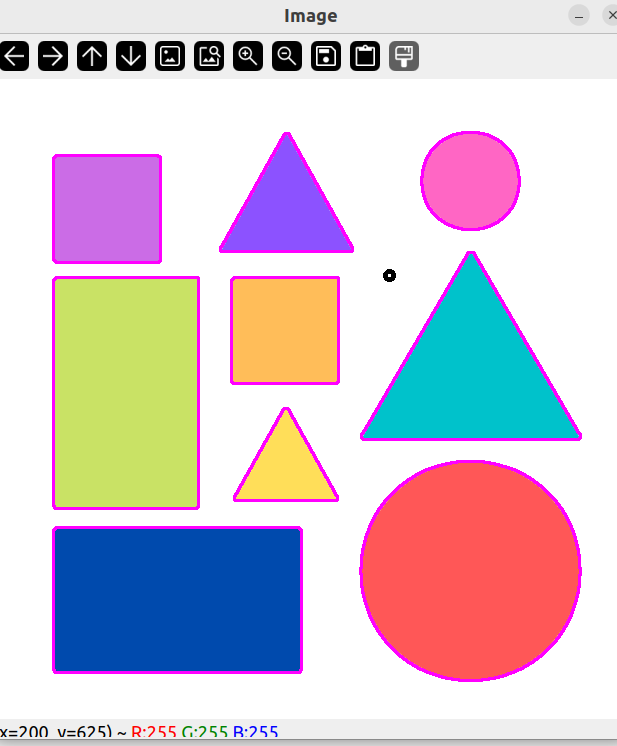
1 2 3 4 5 6 7 8 9 10 11 12 13 14 15 16 17 18 19 void getContours (Mat imgDil, Mat img) vector<vector<Point>> contours; vector<Vec4i> hierarchy; findContours (imgDil, contours, hierarchy, RETR_EXTERNAL, CHAIN_APPROX_SIMPLE); for (int i = 0 ; i < contours.size (); i ++) { int area = contourArea (contours[i]); cout << area << endl; if (area > 1000 ) { drawContours (img, contours, i, Scalar (255 , 0 , 255 ), 2 ); } } }
图像轮廓点进行多边形拟合 approxPolyDP 函数主要功能是把一个连续光滑曲线折线化,对图像轮廓点进行多边形拟合。
1 2 3 4 5 6 7 8 9 10 11 12 13 14 15 16 17 18 19 20 21 22 23 24 25 26 void getContours (Mat imgDil, Mat img) vector<vector<Point>> contours; vector<Vec4i> hierarchy; findContours (imgDil, contours, hierarchy, RETR_EXTERNAL, CHAIN_APPROX_SIMPLE); vector<vector<Point>> conPoly (contours.size ()); for (int i = 0 ; i < contours.size (); i ++) { int area = contourArea (contours[i]); cout << area << endl; if (area > 1000 ) { float peri = arcLength (contours[i], true ); approxPolyDP (contours[i], conPoly[i], 0.02 * peri, true ); drawContours (img, conPoly, i, Scalar (255 , 0 , 255 ), 2 ); cout << conPoly[i].size () << endl; } } }
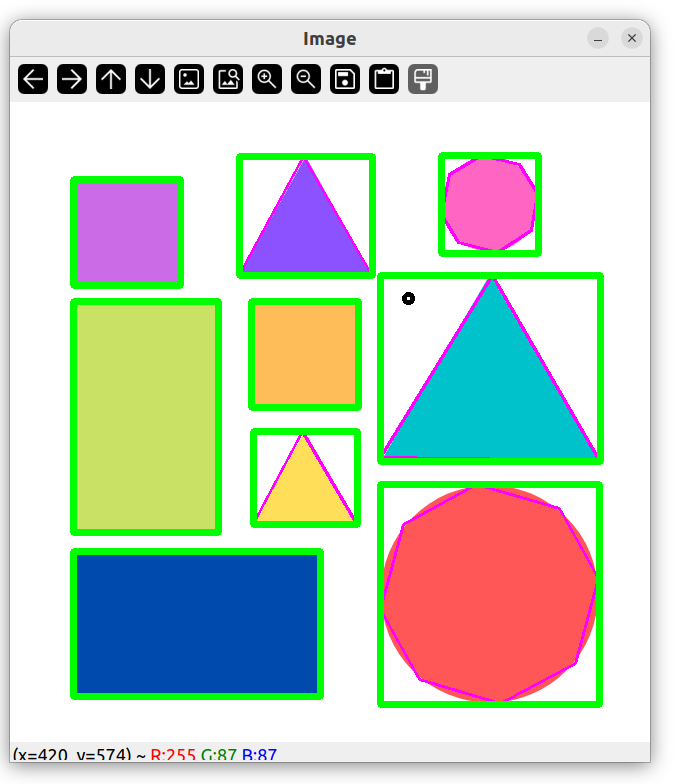
图形边界矩形 1 2 3 4 5 6 7 8 9 10 11 12 13 14 15 16 17 18 19 20 21 22 23 24 25 26 27 28 29 30 void getContours (Mat imgDil, Mat img) vector<vector<Point>> contours; vector<Vec4i> hierarchy; findContours (imgDil, contours, hierarchy, RETR_EXTERNAL, CHAIN_APPROX_SIMPLE); vector<vector<Point>> conPoly (contours.size ()); vector<Rect> boundRect (contours.size()) ; for (int i = 0 ; i < contours.size (); i ++) { int area = contourArea (contours[i]); cout << area << endl; if (area > 1000 ) { float peri = arcLength (contours[i], true ); approxPolyDP (contours[i], conPoly[i], 0.02 * peri, true ); drawContours (img, conPoly, i, Scalar (255 , 0 , 255 ), 2 ); cout << conPoly[i].size () << endl; boundRect[i] = boundingRect (conPoly[i]); rectangle (img, boundRect[i].tl (), boundRect[i].br (), Scalar (0 , 255 , 0 ), 5 ); } } }
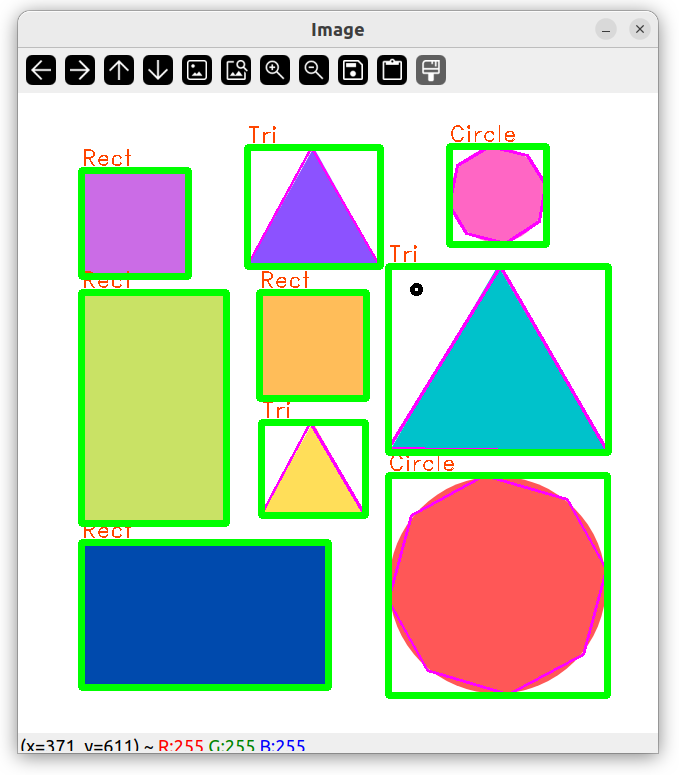
输出形状名称 1 2 3 4 5 6 7 8 9 10 11 12 13 14 15 16 17 18 19 20 21 22 23 24 25 26 27 28 29 30 31 32 33 34 35 36 37 38 39 40 41 42 43 44 45 void getContours (Mat imgDil, Mat img) vector<vector<Point>> contours; vector<Vec4i> hierarchy; findContours (imgDil, contours, hierarchy, RETR_EXTERNAL, CHAIN_APPROX_SIMPLE); vector<vector<Point>> conPoly (contours.size ()); vector<Rect> boundRect (contours.size()) ; for (int i = 0 ; i < contours.size (); i ++) { int area = contourArea (contours[i]); cout << area << endl; string objectType; if (area > 1000 ) { float peri = arcLength (contours[i], true ); approxPolyDP (contours[i], conPoly[i], 0.02 * peri, true ); drawContours (img, conPoly, i, Scalar (255 , 0 , 255 ), 2 ); cout << conPoly[i].size () << endl; boundRect[i] = boundingRect (conPoly[i]); rectangle (img, boundRect[i].tl (), boundRect[i].br (), Scalar (0 , 255 , 0 ), 5 ); int objCor = (int )conPoly[i].size (); if (objCor == 3 ) { objectType = "Tri" ; } else if (objCor == 4 ) { objectType = "Rect" ; } else { objectType = "Circle" ; } putText (img, objectType, {boundRect[i].x, boundRect[i].y - 5 }, FONT_HERSHEY_DUPLEX, 0.75 , Scalar (0 , 69 , 255 )); } } }
1 2 3 4 5 6 7 8 else if (objCor == 4 ) { float aspRatio = (float )boundRect[i].width / (float )boundRect[i].height; if (aspRatio > 0.95 && aspRatio < 1.05 ) objectType = "Square" ; else objectType = "Rectangle" ; }
OPENCV——C++版图像形状简单识别
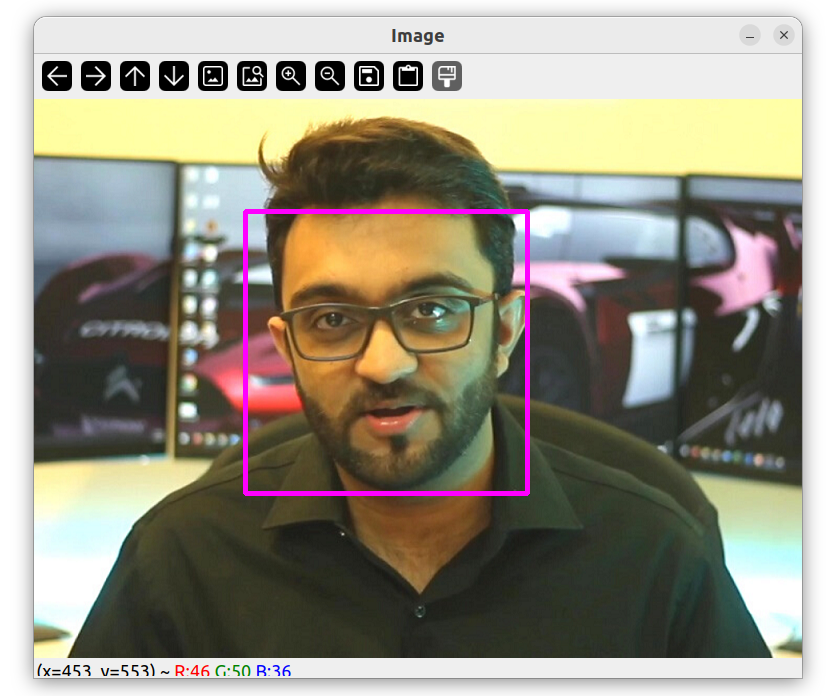
人脸识别 1 2 3 4 5 6 7 8 9 10 11 12 13 14 15 16 17 18 19 20 21 22 23 24 25 26 27 28 29 30 #include <opencv2/opencv.hpp> using namespace cv;using namespace std;int main () string path = "../image/test.png" ; Mat img = imread (path); CascadeClassifier faceCascade; faceCascade.load ("../haarcascade_frontalface_default.xml" ); if (faceCascade.empty ()) puts ("None!" ); vector<Rect> faces; faceCascade.detectMultiScale (img, faces, 1.1 , 10 ); for (int i = 0 ; i < faces.size (); i ++) { rectangle (img, faces[i].tl (), faces[i].br (), Scalar (255 , 0 , 255 ), 3 ); } imshow ("Image" , img); waitKey (0 ); return 0 ; }


 wechat
 alipay